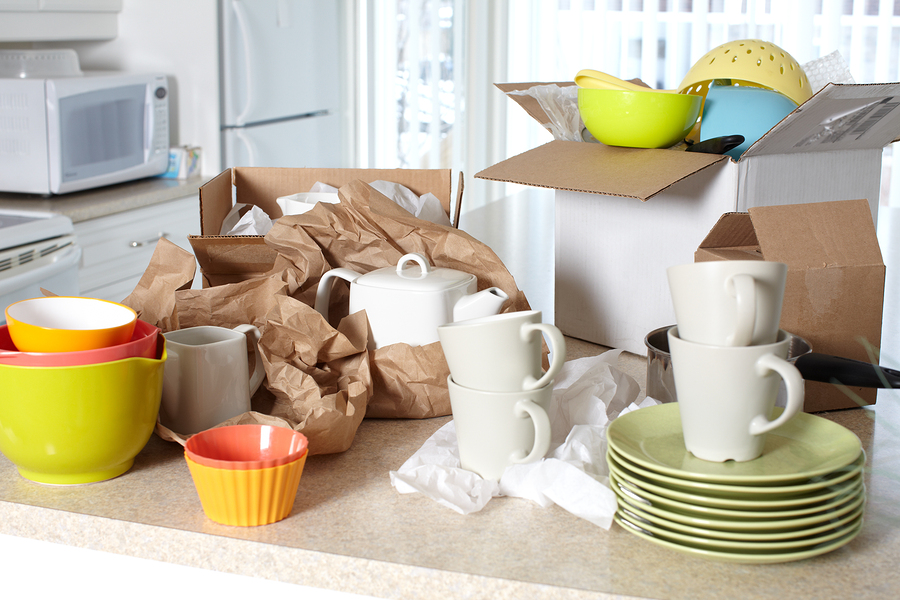
Staring at your kitchen and wondering where to even start packing is completely normal. Kitchens hold more stuff than any other room in your house, and most of it breaks if you look at it wrong. Between the dishes, glassware, appliances, pantry items, and random gadgets you forgot you owned, figuring out how to pack a kitchen for moving feels overwhelming.
Here’s the thing: learning how to pack a kitchen for moving doesn’t have to be complicated. Professional movers pack kitchens every single day, and we’ve developed techniques that keep everything safe while making unpacking easier. This guide walks you through exactly how to pack a kitchen for moving, from your everyday dishes to that fancy china you only use twice a year.
Why Knowing How to Pack a Kitchen for Moving Matters
Kitchens generate the most damage claims during moves. Broken dishes, cracked glassware, and damaged appliances happen when people don’t know how to pack a kitchen for moving properly. Using newspaper instead of packing paper, stacking plates flat instead of vertically, or mixing heavy items with fragile ones—these common mistakes cost hundreds in replacements.
When you understand how to pack a kitchen for moving correctly, you save money on materials, prevent damage, and make unpacking at your new home dramatically easier. Plus, professional movers appreciate working with properly packed kitchen boxes. It makes their job safer and your move faster.
Gather Your Kitchen Packing Supplies
Before you start figuring out how to pack a kitchen for moving, gather proper supplies. Don’t use whatever random boxes you found behind the grocery store.
Essential supplies for packing a kitchen:
- Heavy-duty moving boxes in multiple sizes (small for heavy items, medium for most kitchen goods)
- Dish pack boxes (double-walled boxes specifically designed for dishes)
- Packing paper (unprinted—newspaper leaves ink stains)
- Bubble wrap for fragile items
- Packing tape (3 inches wide minimum)
- Permanent markers for labeling
- Foam pouches or dividers for glassware
- Small boxes for spices and pantry items
Investing in proper supplies is part of learning how to pack a kitchen for moving successfully. Cheap materials fail, and replacing broken dishes costs more than buying good boxes.
Timeline: When to Start Packing Your Kitchen
Knowing when to start is as important as knowing how to pack a kitchen for moving. Start too early and you’re eating takeout for weeks. Start too late and you’re rushing through it making mistakes.
4 weeks before moving: Pack rarely-used items like special occasion dishes, serving platters, and seasonal items.
2 weeks before moving: Pack appliances you don’t use daily, extra cookware, and most of your pantry.
1 week before moving: Pack everything except absolute daily essentials.
Moving day morning: Pack your final coffee maker, breakfast dishes, and any remaining items.
This timeline helps you learn how to pack a kitchen for moving without disrupting your daily life too much.
How to Pack Dishes for Moving
Dishes represent the biggest challenge when learning how to pack a kitchen for moving. Here’s the professional technique.
Step-by-step for packing dishes:
Start with small or medium boxes—never large boxes for dishes, even though they fit. Dishes are heavy, and large boxes become impossible to lift safely.
Line the bottom of your box with crumpled packing paper for cushioning. This creates a shock-absorbing layer that’s critical when learning how to pack a kitchen for moving.
Wrap each plate individually in packing paper. Lay the paper diagonally, place the plate in the center, and fold corners over it. Use 2-3 sheets for everyday dishes, more for fine china.
Here’s the key technique for how to pack dishes: stack them vertically like records, not flat. Vertically stacked plates distribute weight better and are less likely to break during transport. This might feel wrong, but it’s the professional method for how to pack a kitchen for moving.
Place wrapped plates on their edges in the box. Fill empty spaces with crumpled paper so nothing shifts. A properly packed box should have no movement when you shake it gently.
Don’t mix heavy items with dishes. Canned goods in a box of plates is a recipe for disaster when learning how to pack a kitchen for moving.
How to Pack Glassware and Stemware
Glassware requires special attention when figuring out how to pack a kitchen for moving.
For regular drinking glasses:
Stuff the inside of each glass with crumpled packing paper. This supports the structure and prevents crushing.
Wrap each glass individually in packing paper or bubble wrap. Use more protection for delicate or valuable glasses.
Pack glasses upright in boxes with dividers if you have them. If not, nestle wrapped glasses together with plenty of paper between them.
For wine glasses and stemware:
Wine glasses are the most fragile items when learning how to pack a kitchen for moving. Wrap stems separately with extra padding. The stem is where they break most often.
Consider using specialty glass dividers or foam pouches for expensive stemware. These are worth the investment for protection.
Pack wine glasses separately from regular glasses. Don’t mix them in the same box.
How to Pack Pots, Pans, and Cookware
Pots and pans are easier than dishes when learning how to pack a kitchen for moving, but they still need proper technique.
Packing cookware properly:
Nest pots and pans of similar sizes together with packing paper between each piece. This saves space and provides protection.
Remove glass lids and pack them separately like dishes. Mixing glass with heavy metal is asking for breakage.
Wrap the nested set together and pack in medium boxes. Pots are heavy, so don’t use large boxes even though they fit.
Pack pot lids vertically on their edges, like plates. Use paper between each one to prevent scratching.
Place heavier items like cast iron skillets at the bottom of boxes. Lighter items go on top.
How to Pack Small Kitchen Appliances
Small appliances need special handling when learning how to pack a kitchen for moving.
For countertop appliances:
Use original boxes if you kept them. Manufacturers design these boxes specifically for safe transport, making them ideal for how to pack a kitchen for moving.
If you don’t have original boxes, wrap appliances in bubble wrap or moving blankets. Secure all loose parts.
Remove glass carafes from coffee makers and pack them separately like glassware. Don’t leave them attached during a move.
Wrap cords and tape them to the appliance. Don’t let cords dangle where they can snag or get damaged.
Pack appliances in appropriately sized boxes with padding around all sides. They shouldn’t shift when the box moves.
For large appliances:
Large appliances like refrigerators need special preparation. Empty and defrost refrigerators at least 24 hours before moving. Pack shelves and drawers separately.
Secure doors with moving straps or rope—never tape. Tape residue damages finishes.
How to Pack Pantry Items
Pantry items present unique challenges when learning how to pack a kitchen for moving.
Handling food and pantry goods:
Check expiration dates ruthlessly. Don’t waste money moving expired food. This is the perfect time to purge.
Dispose of open packages of flour, sugar, and other dry goods that could spill. Replace them cheaply at your new location.
Pack unopened, non-perishable items in small boxes. Food is heavy—use small boxes or they become unliftable.
Place bottles and jars in plastic bags before boxing them. If they leak, the bag contains the mess.
Don’t pack perishables. Donate unused refrigerated or frozen items before moving day.
Pack spices in small boxes or plastic bins. These are valuable and easy to lose, so keep them together.
What Not to Pack When Learning How to Pack a Kitchen for Moving
Some items shouldn’t move with you. Understanding what to leave behind is part of knowing how to pack a kitchen for moving.
Items to dispose of or donate:
- Opened boxes of food (cereal, crackers, pasta)
- Anything expired or stale
- Refrigerated items that won’t survive the move
- Frozen foods (unless it’s a same-day local move)
- Cleaning supplies (hazardous materials)
- Propane tanks or fuel
- Opened bottles of cooking oil (they leak)
Movers often can’t transport hazardous materials. Check with your moving company about restrictions before learning how to pack a kitchen for moving.
Labeling Strategy for Kitchen Boxes
Good labeling transforms how to pack a kitchen for moving from chaos into organization.
Essential labeling for kitchen boxes:
Label every box on multiple sides with “KITCHEN” and the specific contents. “Kitchen – everyday dishes” is more helpful than just “kitchen.”
Use color-coded labels or markers. Many people assign each room a color, making kitchen boxes instantly identifiable.
Mark fragile boxes clearly on all sides. “FRAGILE – DISHES” in large letters prevents boxes from being stacked improperly.
Number your boxes and keep an inventory list. This helps track everything and makes unpacking systematic.
Indicate which boxes you need first. Mark some as “OPEN FIRST” so you can function immediately in your new kitchen.
Special Considerations for Florida Moves
If you’re learning how to pack a kitchen for moving to Florida, consider the climate.
Florida’s heat and humidity affect certain items. Don’t pack chocolate or heat-sensitive foods in summer moves—they’ll melt.
Pantry items can attract pests in hot weather. Seal everything in plastic bags as extra protection.
Consider the size of kitchens in Florida homes. Many Florida residences have smaller kitchens than up north. You might be downsizing your kitchen items.
Learn more about moving to Florida and regional considerations.
Professional Packing vs DIY Kitchen Packing
Understanding how to pack a kitchen for moving helps you decide between DIY and professional services.
When to consider professional packing:
- You have extensive china or crystal collections
- You lack time to pack properly before your move date
- You want insurance coverage (often requires professional packing)
- Your kitchen has high-value items
- You’re physically unable to handle heavy box packing
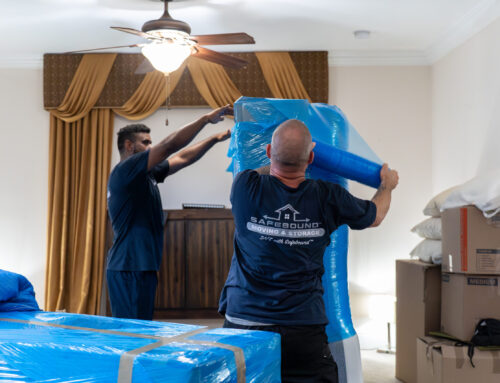
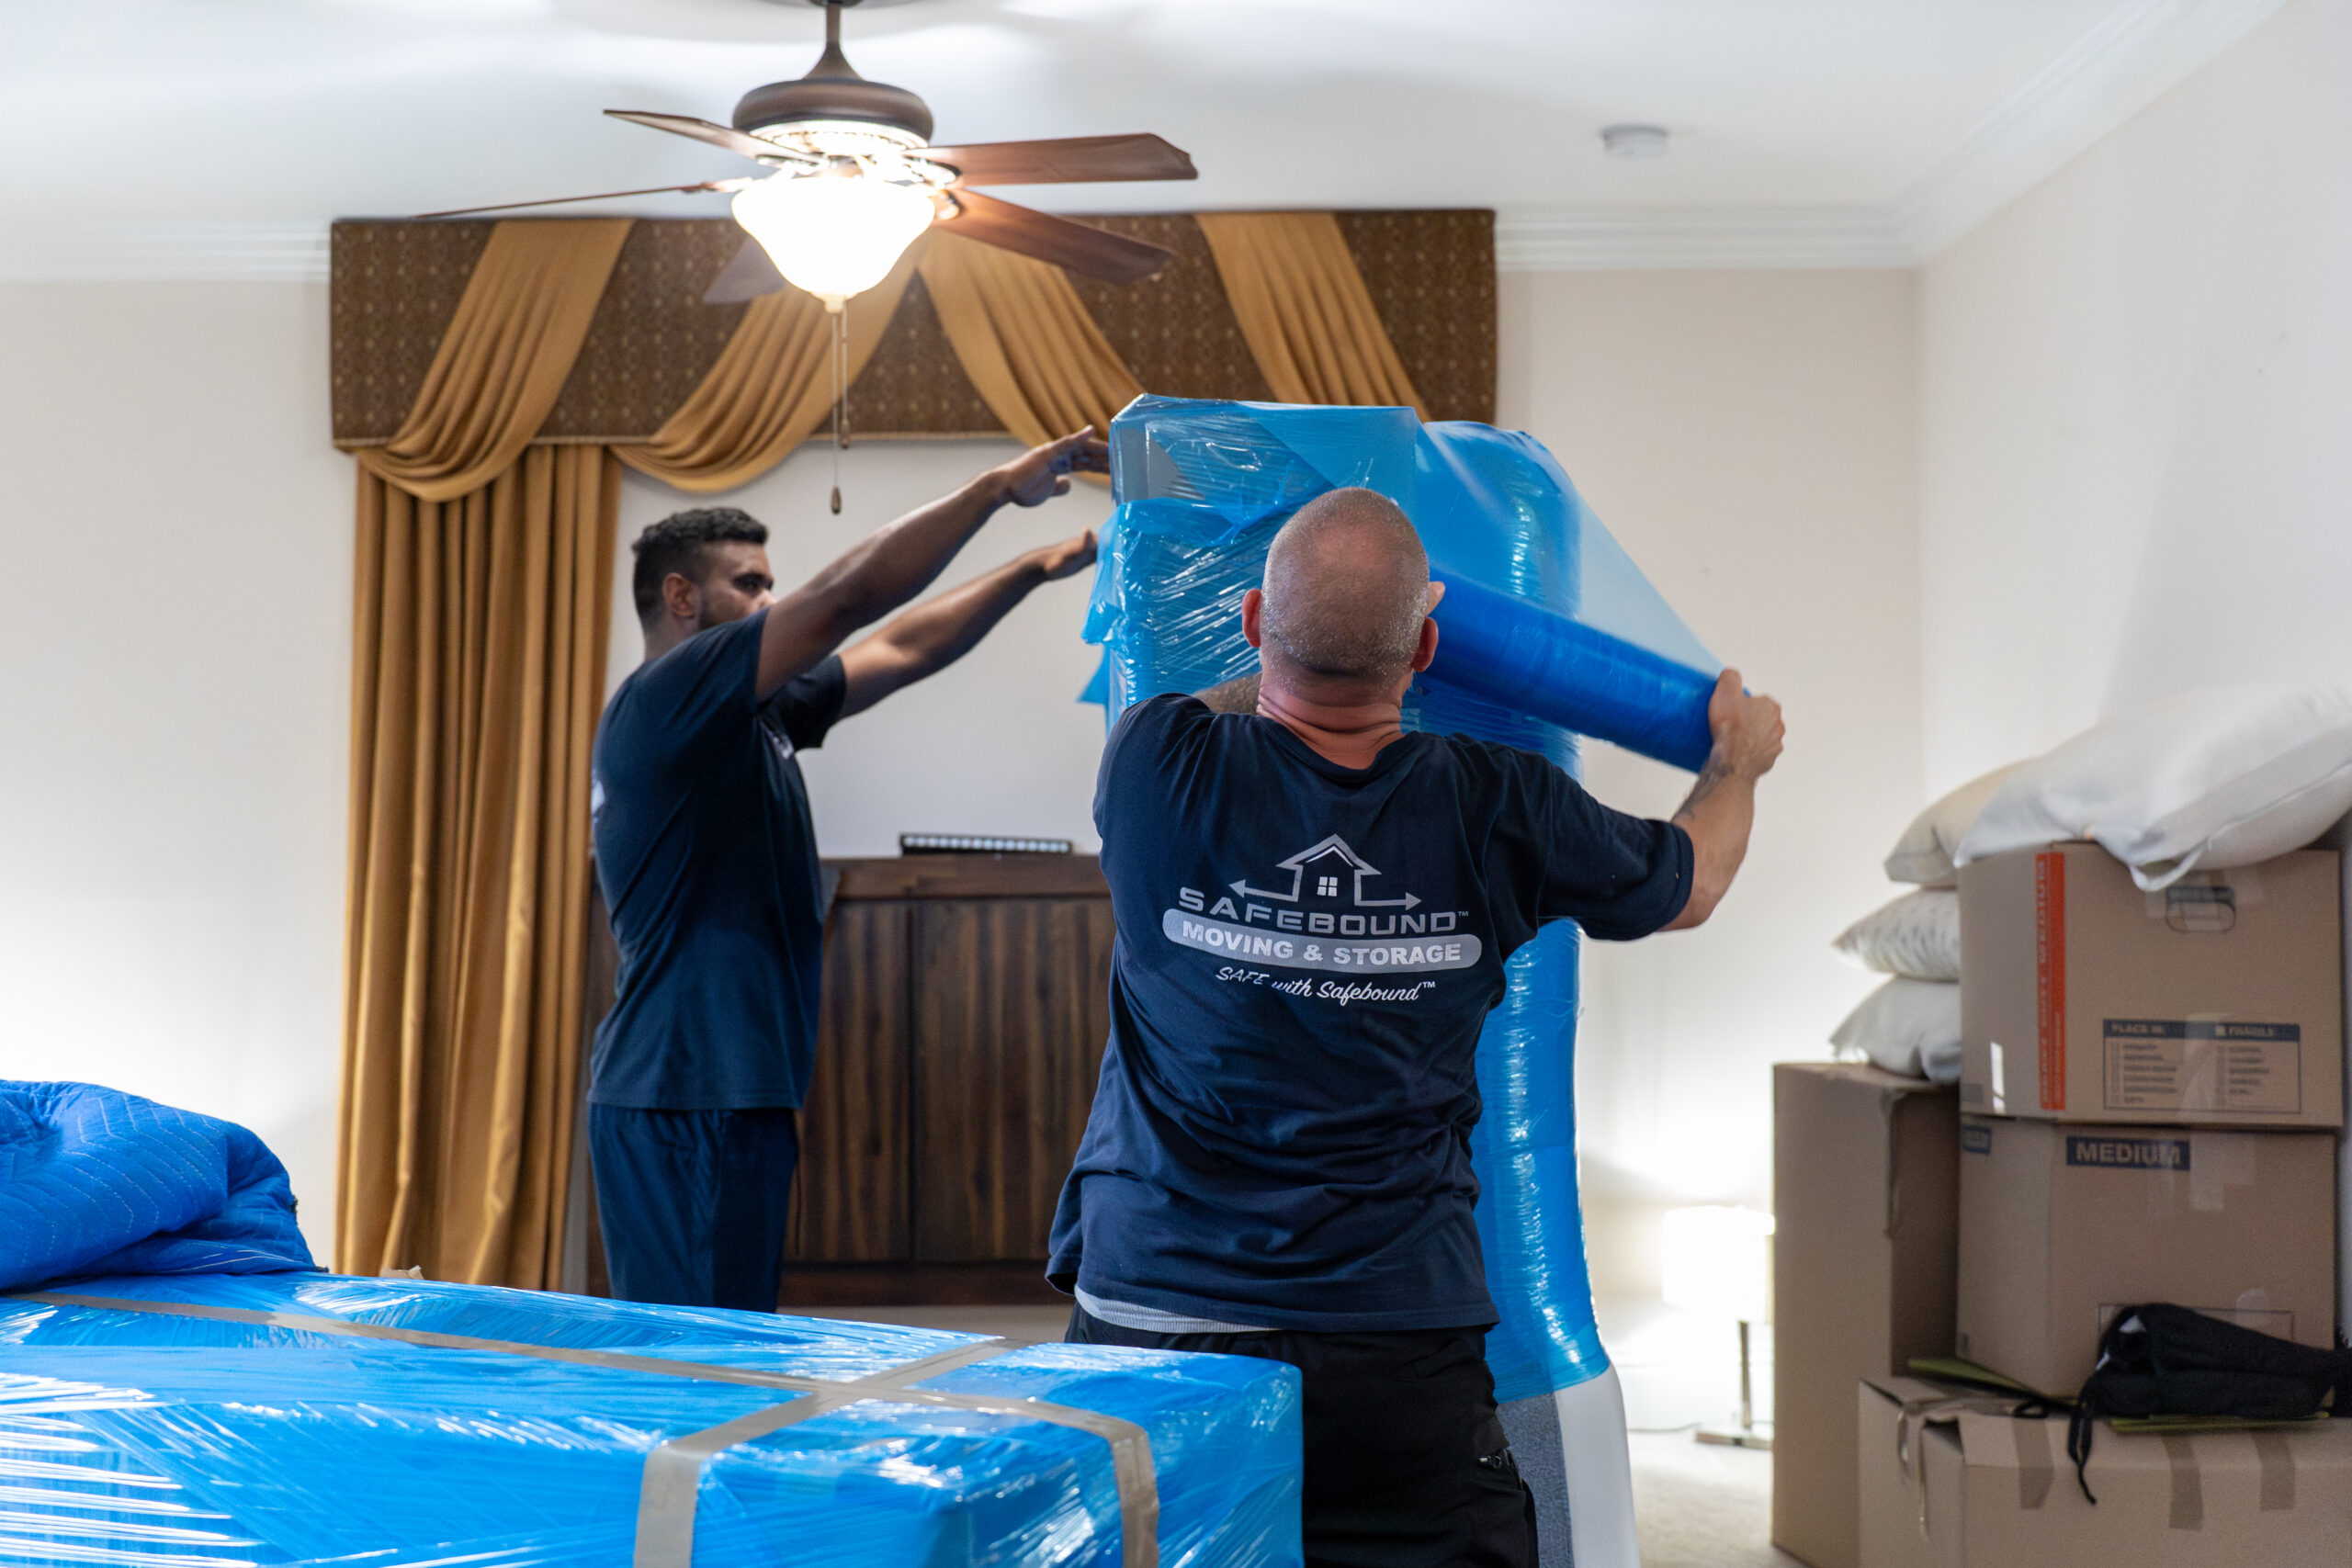
At Safebound Moving, our professional packers know exactly how to pack a kitchen for moving safely. We bring proper materials, use proven techniques, and work quickly. Many clients choose to pack most of their home themselves but hire us specifically for the kitchen.
Explore our professional packing services for kitchen packing assistance.
Common Mistakes When Packing Kitchens
Even when you’re learning how to pack a kitchen for moving, mistakes happen. Avoid these common errors.
Frequent packing mistakes:
Using boxes that are too large for heavy items. Small boxes for dishes, always.
Packing plates flat instead of vertically. Vertical stacking protects better.
Mixing heavy and fragile items in the same box. Keep them separate.
Not using enough padding material. Empty space means items shift and break.
Leaving liquids unsealed. Double-bag anything that could leak.
Waiting until the last minute to start. Rushed kitchen packing leads to damage.
Unpacking Your Kitchen at Your New Home
Knowing how to pack a kitchen for moving includes planning for unpacking.
Efficient unpacking strategy:
Unpack kitchen boxes first. You need to eat, and having a functional kitchen matters immediately.
Set up one area completely before moving to the next. Get dishes put away before tackling appliances.
Wipe down cabinets and drawers before unpacking into them. Moving day leaves dust and debris.
Place items logically as you unpack. Use this opportunity to organize better than your old kitchen.
Save packing materials until everything is unpacked and undamaged. You might need them for returns or insurance claims.
Your Kitchen Packing Checklist
4 weeks before:
- ☐ Gather packing supplies
- ☐ Pack special occasion items
- ☐ Pack seasonal items
2 weeks before:
- ☐ Pack rarely-used appliances
- ☐ Pack extra cookware
- ☐ Start pantry sorting
- ☐ Pack most pantry items
1 week before:
- ☐ Pack all non-essential items
- ☐ Pack most appliances
- ☐ Defrost freezer if moving refrigerator
Moving day:
- ☐ Pack final appliances
- ☐ Pack last dishes
- ☐ Do final cleaning
Getting Professional Help With Kitchen Packing
Now that you understand how to pack a kitchen for moving, you can make informed decisions about which parts you handle yourself and where you might want help.
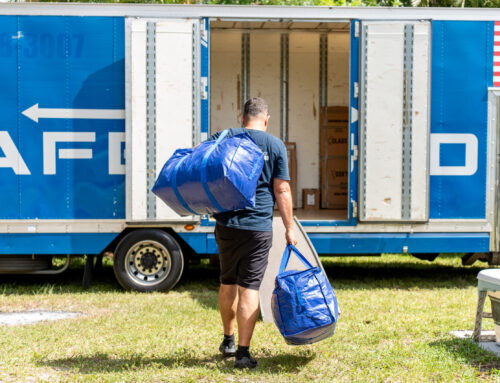
At Safebound Moving, we’ve packed thousands of kitchens. We know exactly how to pack a kitchen for moving safely and efficiently. Whether you need full packing services or just want professionals handling your dishes and glassware while you pack everything else, we offer flexible options.
Ready to plan your move? Contact Safebound Moving today for a free consultation. Let us know you need help with kitchen packing, and we’ll create a solution that fits your timeline and budget.
For more moving guidance, visit our blog with tips on moving day essentials, downsizing before your move, and relocating with pets.
External Resources:

